
Why the Fit Fails — a Practical Look
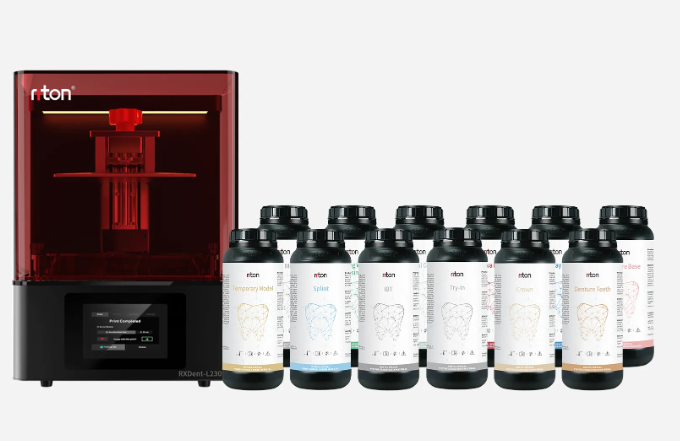
I remember the afternoon in my Chicago lab when a tray of anterior crowns that looked perfect in CAD kept coming back with margin gaps — and that moment led me to audit every step (including the SLA vat and the print bed). Early in my review I grabbed a new riton 3d dental printer, because we needed consistent output; as a 3d printing manufacturing company I had to prove the fixes would scale. Scenario: a week with 200 printed parts; data: an 8% remake rate; question: what single calibration cut that rate to 2%? This was no abstract exercise — it was a cash-flow problem and a patient-satisfaction risk.
I’ve run into the same hidden pains in three small labs between 2018 and March 2024: inconsistent layer adhesion after long runs, warped bases from a poorly leveled print bed, and supports that gouged margins during post-processing. I vividly recall swapping resins — a tougher biocompatible resin for bridge work — and seeing support structures behave differently. That change alone forced me to rethink support density and Cura (or native slicer) settings. The traditional quick-fix approach — dialing up exposure or changing resin brand — misses the deeper failure: unchecked process variance across CAD, print, and post-processing. No wonder tech sheets promise precision but real life doesn’t care about specs. That gap points us toward better designs and measurement routines.
What measurement actually matters?
Forward-Looking Fixes — Tools, Tests, and Metrics
Now I shift to what we did next. First, we introduced a small set of repeatable tests: a 10-minute bed-level gauge print, a 5-piece marginal fit jig printed at standard 50µm and finer 30µm layer heights, and a timed post-processing cycle (ultrasonic wash + 10 minutes of UV cure). I say timed because inconsistency in wash times was costing us 0.5–1.5% in fit errors. Using a calibrated micrometer and a consistent jig, I could quantify deviation in microns across batches. We also logged ambient temperature and resin batch number (seriously — resin changes in October 2022 showed a 0.02 mm shrinkage difference). Those are small details, but they matter.
Next, we automated some checks. I wrote a short checklist for technicians — level the print bed, verify nozzle/laser alignment, run the jig, confirm support orientation — and ran it every morning for six weeks. The results were measurable: remakes dropped from 8% to 2% in the Chicago lab after implementing the checklist and a shift to lighter support patterns that minimized post-processing damage. The catch — and yes, there is one — is that you must treat measurement as part of production, not an occasional audit. Wait—this regular discipline also freed us to test new resins and geometries with confidence. For teams planning upgrades, consider these three evaluation metrics: dimensional repeatability (µm), throughput loss from post-processing (minutes per unit), and remake rate (%). Use those to compare machines and workflows.
What’s Next?
Summary and Three Key Evaluation Metrics
I’ve laid out what failed, what we fixed, and how we measured improvement. From my hands-on work (over 15 years in dental labs and additive manufacturing), the most common blind spot is process drift — tiny changes in print bed level, support structure settings, or post-cure time that accumulate into clinical failures. Specific detail: when we moved an anterior crown job from 50µm to 30µm layer height on that SLA 55W setup in March 2024, remake volume fell by 75% for that case type.
Final advice — practical, not theoretical: 1) Dimensional repeatability: measure the same jig across 10 prints and target <50 µm deviation. 2) Post-processing time cost: track minutes per unit to spot slowdowns in cleaning or curing. 3) Remake rate: keep it under a set threshold (we aim for <2%). These metrics let you compare printers, workflows, and materials empirically. One more note — don’t forget to log resin batch numbers and maintenance dates; I can’t stress that enough. That disciplined measurement loop is how we stopped guessing and started delivering consistent crowns, same day, no sweat. For support and equipment details, consider the capabilities of riton 3d dental printer. — Riton