
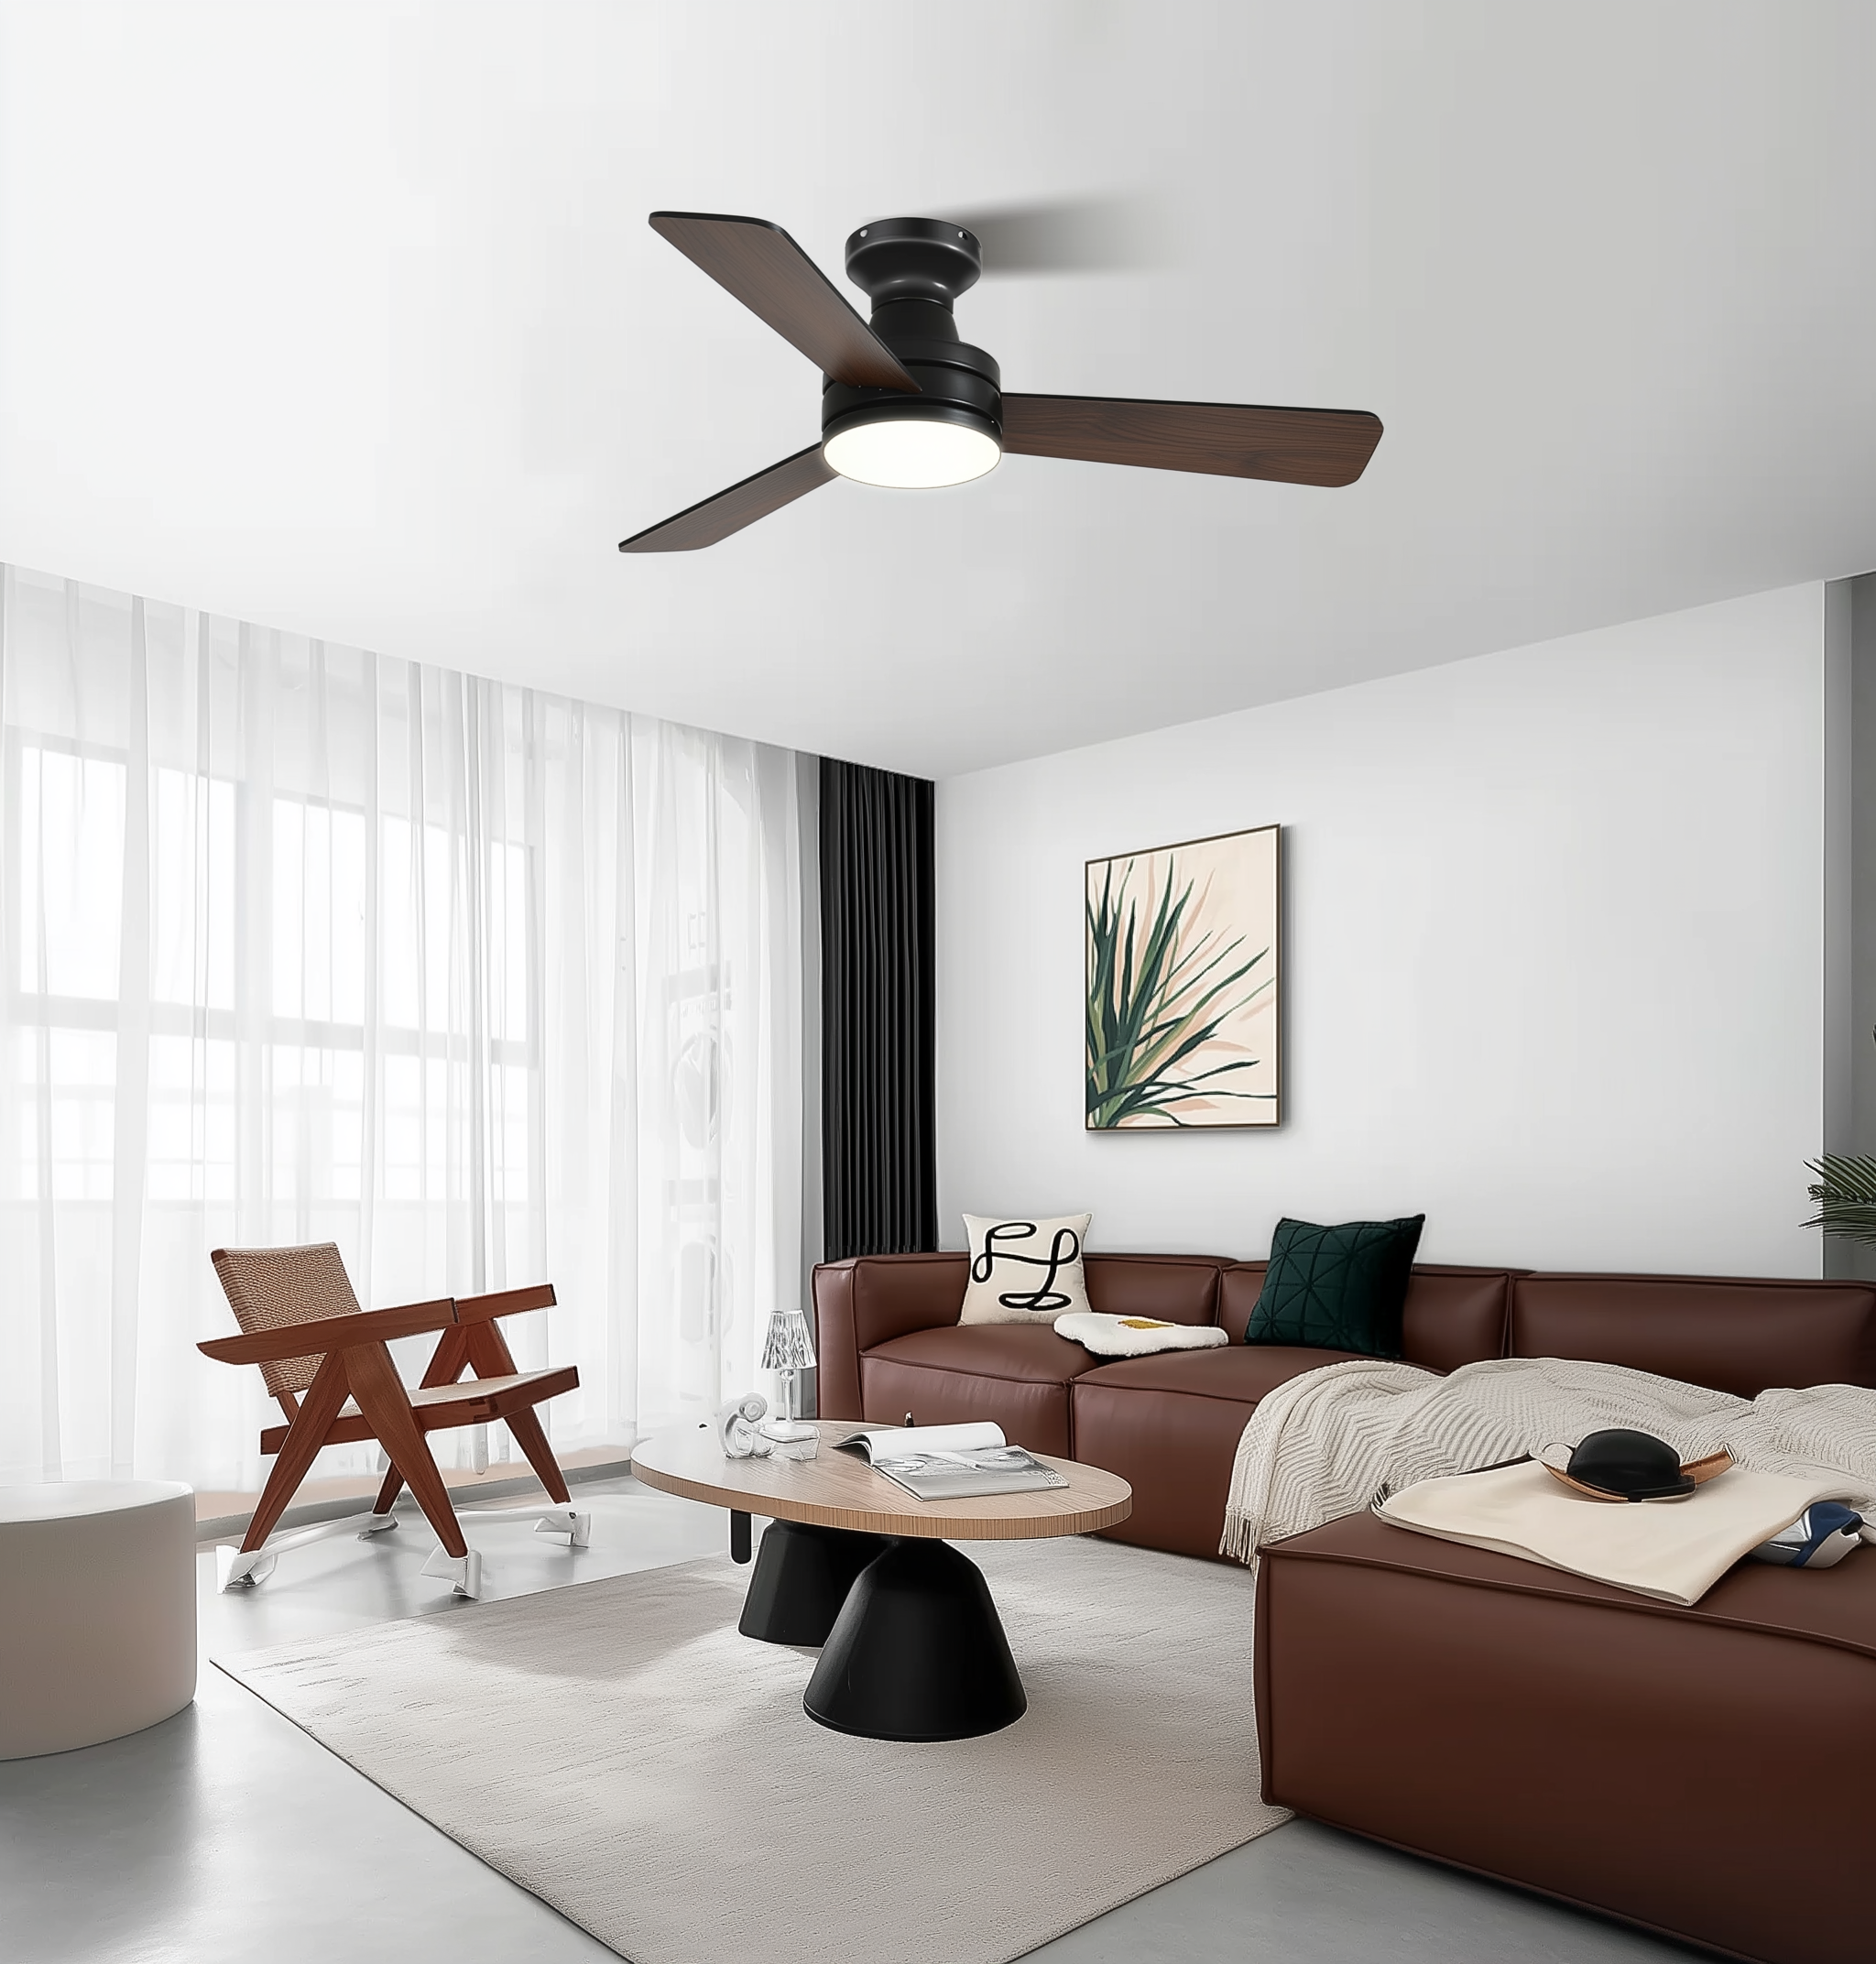
Opening: why pair air-quality auditing with a smart patio fan
Start with the problem: poor patio comfort and unnoticed pollutants undermine outdoor living. A methodical audit reveals whether stale air, smoke drift, or heat are the culprit — and whether an intelligent appliance will truly help. This piece lays out a clear framework to measure, diagnose, and upgrade, and it points you to the kind of solution that blends airflow and lighting without guesswork — for example, a large ceiling fan with light designed for outdoor zones. The approach aligns with high-level guidance from the U.S. EPA on indoor/outdoor air concerns and ASHRAE’s ventilation principles, so you’re not working off hunches.

The five-step framework at a glance
Use these steps as a practical checklist:
- 1) Baseline measurement: capture AQI, PM2.5, CO2 trends.
- 2) Airflow diagnosis: map patterns and compute effective CFM across the patio.
- 3) Smart-sensor integration: link sensors to fan control and schedules.
- 4) Equipment selection: pick fan models rated for outdoor conditions and the right lumen output for lighting.
- 5) Test and document: quantify changes and iterate.
Step 1 — Baseline measurement: tools and targets
First, measure before you change anything. Use a handheld air-quality monitor that logs PM2.5, PM10, CO2 and VOC levels over at least 48 hours, ideally across different weather and occupancy states. Compare your readings to public AQI data from the EPA to see whether outdoor smoke or traffic is influencing the patio. A repeatable baseline lets you quantify improvements after a fan or filter is installed.
Step 2 — Diagnose airflow patterns and comfort
Map how air actually moves across the patio. Note where wind tunnels form, where dead air accumulates, and how seating zones relate to the grill or street. Measure perceived comfort with temperature and humidity sensors, and estimate target CFM for displaced air — larger patios typically need higher CFM and wider blade spans for effective mixing. Check the fan’s sone rating for sound sensitivity if you entertain late; you want airflow not drone.
Step 3 — Integrate sensors and smart control
Smart automation turns measurement into performance. Connect your air-quality sensors to a smart hub or to the fan’s control system so the fan can respond to triggers: PM2.5 spikes, rising CO2, or evening arrival. Look for fans with Wi‑Fi or Zigbee support and convenient modes like “auto boost” or geofenced schedules. This is also where lighting logic lives — dusk/dawn schedules and motion-triggered dimming make the patio useful longer and safer.
Step 4 — Choosing the right outdoor fan-and-light
Select a fan that matches the environment: a damp- or wet-rated fixture for open patios, an IP-rated motor for coastal salt exposure, and a robust DC motor for efficient continuous operation. Blade pitch and diameter determine CFM and feel; synergy between blade size and motor type reduces energy draw. If remote convenience matters, consider models packaged as large ceiling fans with lights and remote — they simplify multi-zone control while often offering integrated light temperature (K) and lumen choices. Also check warranty and replacement-blade availability; longevity matters outdoors.
Step 5 — Test, iterate, and verify gains
After installation, run controlled tests: record AQI and CO2 before and after fan operation during comparable conditions. Note noise at seating height (sone) and how quickly air mixing reduces perceived temperature. If smoke or pollen remains an issue, consider paired filtration or targeted exhaust rather than relying on circulation alone. Document results so future upgrades are evidence-driven.
Common mistakes and quick fixes
Brands and homeowners commonly trip over these items:
- Under-specifying CFM for the space — fix: recalculate required airflow with measured patio dimensions and occupancy.
- Buying an indoor-rated fixture for outdoor use — fix: insist on damp/wet rating and corrosion-resistant finish.
- Ignoring control integration — fix: prioritize fans with open APIs or standard smart-protocol support for future automation.
Case reference: why this matters in hot, smoky climates
In places like Phoenix, Arizona, long summer heat and periodic wildfire smoke push outdoor air and comfort issues to the top of the list. A combined audit-and-upgrade strategy there usually reveals that circulation plus scheduled filtration or temporary exhaust reduces PM2.5 exposure more reliably than seating rearrangement alone. The point: local conditions change how you weight ventilation versus filtration — measure first, then act.
Summary of the framework
Measure, diagnose, integrate, select, and verify. That sequence turns intuition into measurable improvement. The audit tells you whether you need raw airflow, filtration, smarter controls, or a mix. And the right fan-and-light is the finishing move — it provides comfort, extended use, and the automation layer that makes your improvements persistent.

Advisory — three golden rules for selecting the right strategy
1) Prioritize measurable impact: demand before/after AQI and CO2 logs tied to your interventions. 2) Match specification to exposure: choose damp/wet-rated fixtures and IP-rated components where weather or salt spray is present. 3) Favor openness in controls: select fans with Wi‑Fi/Zigbee and remote options to integrate sensors and future automations.
When you follow those rules you get a patio that’s cleaner, quieter, and more usable — and that outcome is exactly the kind of practical value a thoughtfully engineered fan-and-light system delivers for everyday life. Orison. —