
Why this is a problem
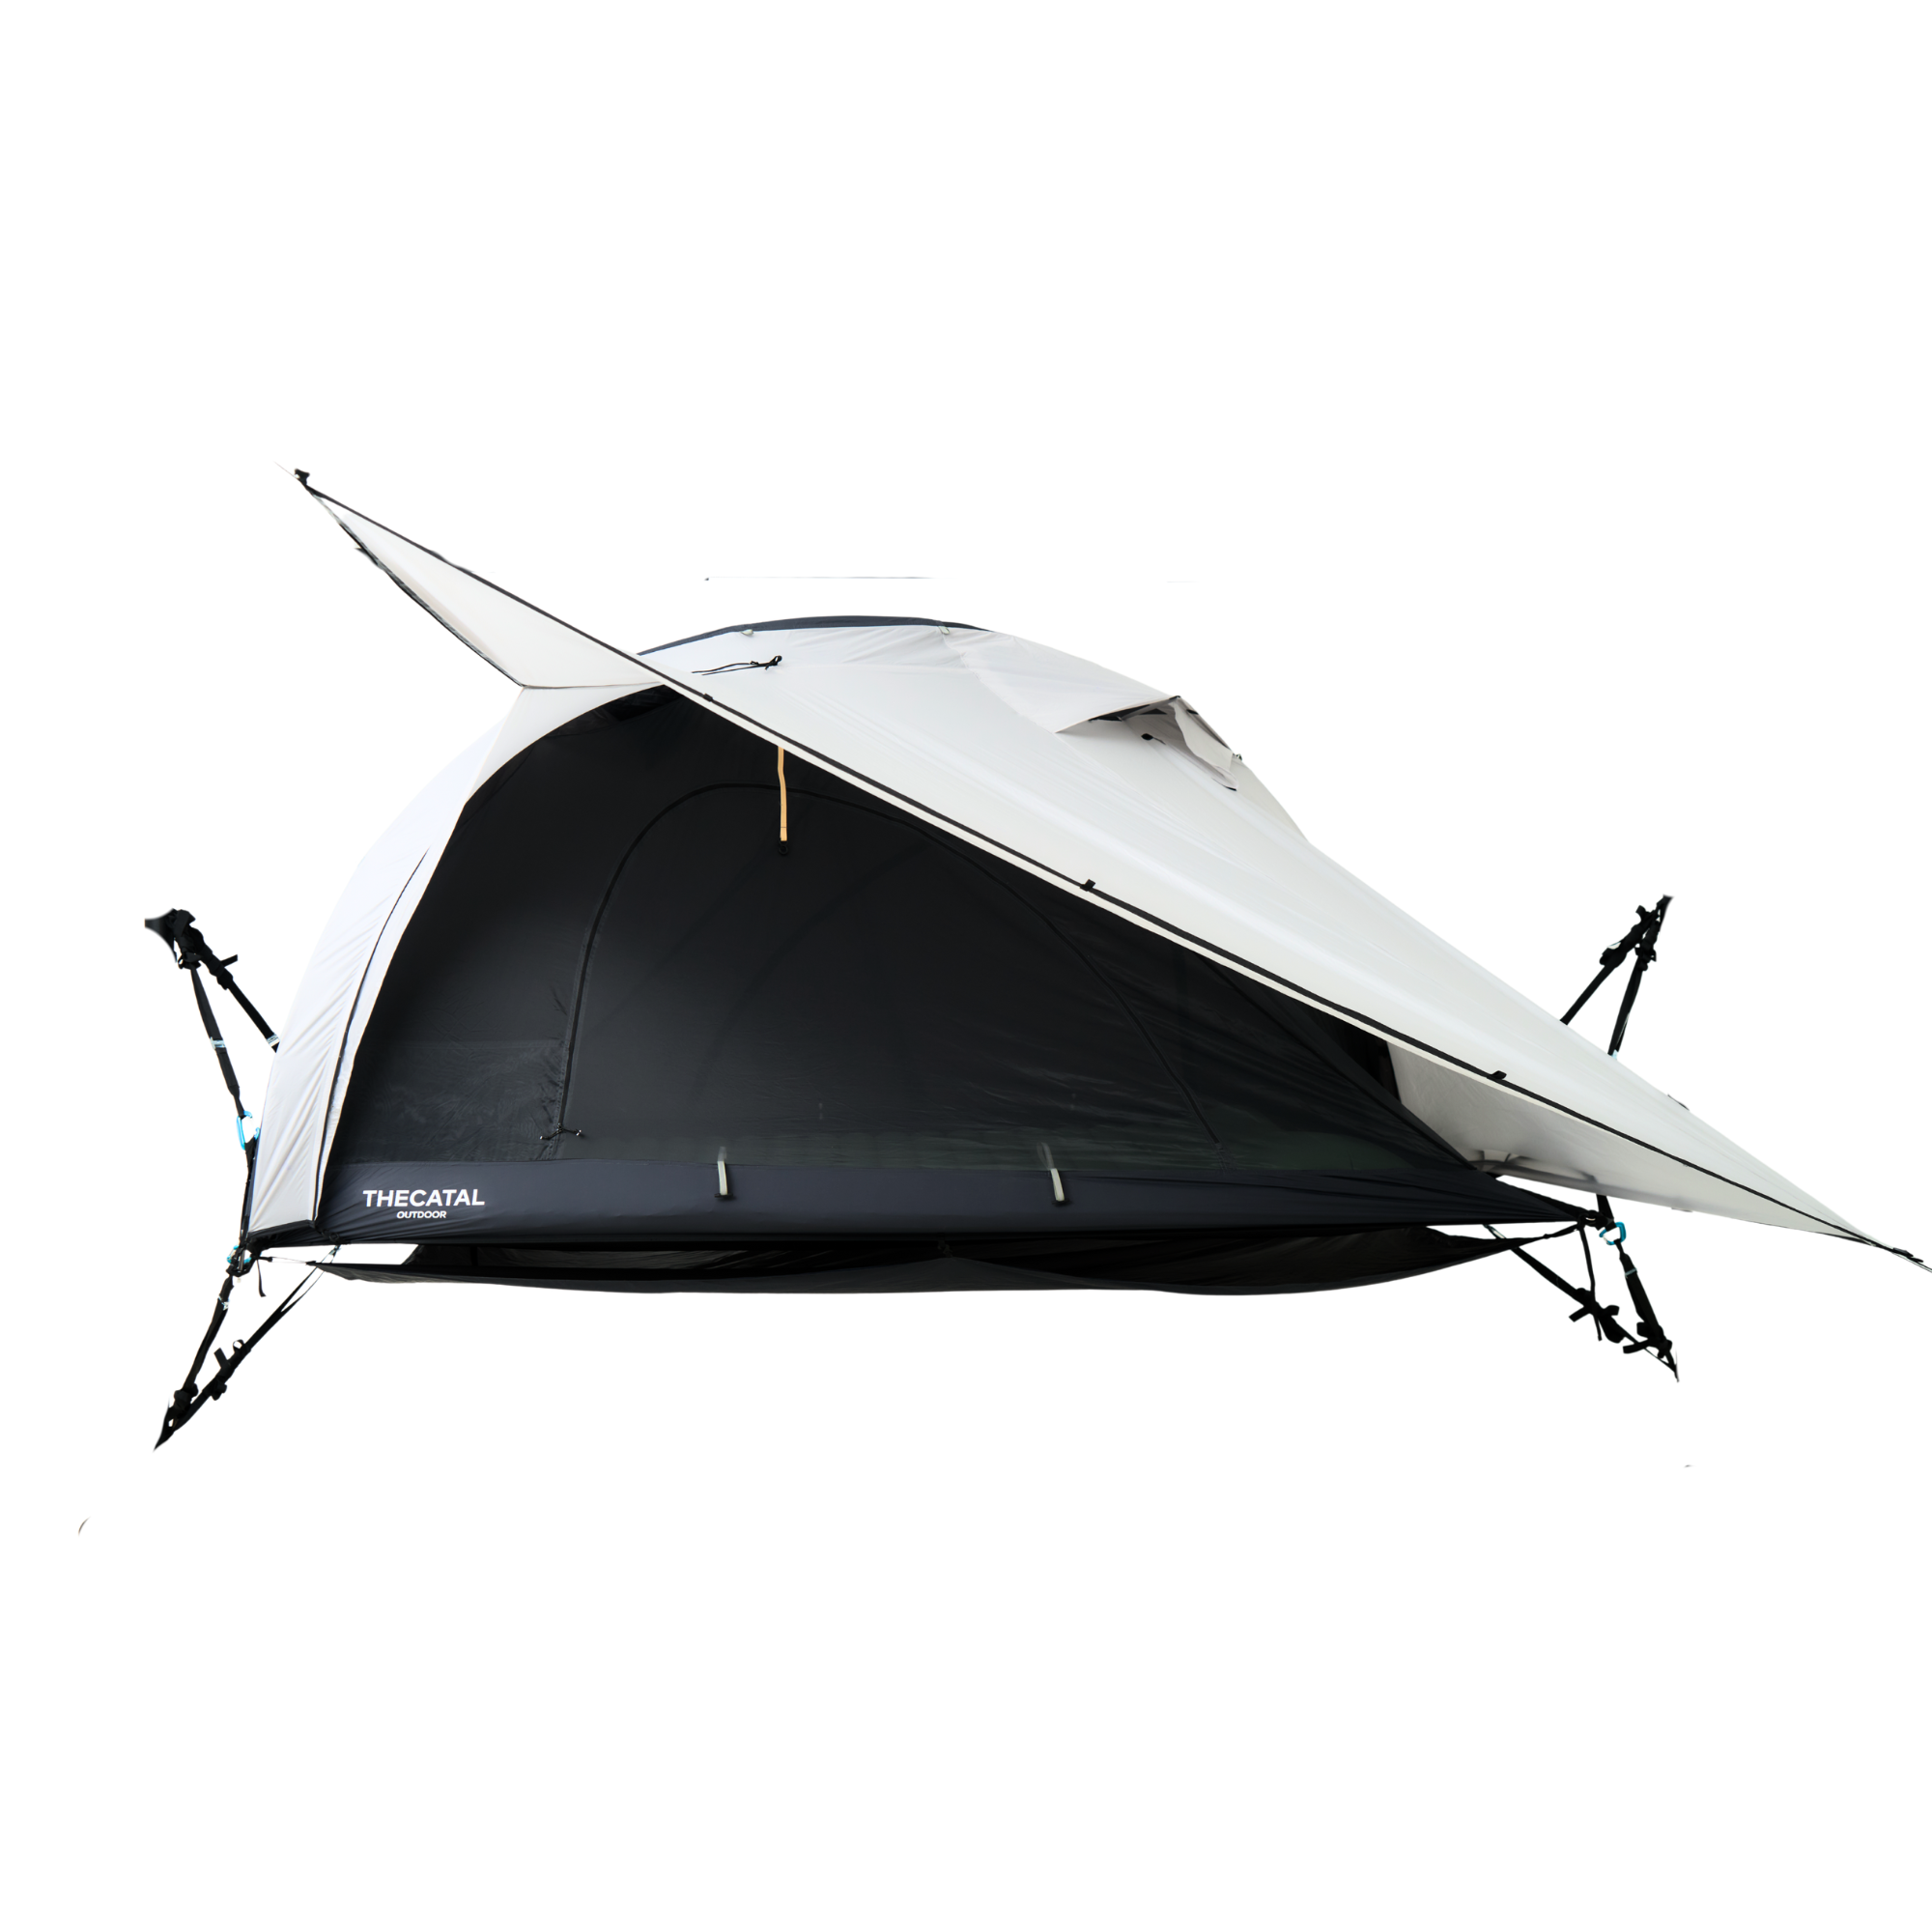
You want a light pack, but every ounce you shave from a tent usually steals something back — space, setup ease, or the confidence your shelter will keep you dry. That tradeoff is what trips most people up on the trail. A thin, well-cut shelter can feel roomy; a tiny freestanding dome can feel luxurious until a storm hits. I always pack a waterproof flysheet on routes where rain is likely, because the difference between a damp night and a ruined one is often one small piece of fabric done right.

Field test that taught me the rules
After guiding weekend trips and spending summers backpacking the Pacific Northwest, I learned fast that a shelter’s reputation only matters once you’re setting it up in wind and steady rain. On those wet runs I started tying a specific kind of flysheet waterproof into my kit list — testing durability, seam behavior, and how the fly interacts with vestibules. That hands-on experience under real storms is what shapes the practical advice below, not theory.
Weight: what to actually optimize
Don’t chase the absolute lowest grams unless you accept compromises. Instead, choose the lightest tent that preserves enough structure for easy pitching and a usable vestibule. Think in tradeoffs: shave fabric where it won’t affect pitch speed, keep sturdier poles or reinforced corners where stress concentrates, and pick a packable fly that’s durable rather than paper-thin. Weight savings are real, but pointless if you end up carrying soaked gear because the fly failed.
Space: interior layout that matters at night
One person can sleep with more comfort in a narrower but longer tent than in a short, wide one. Look for headroom where you sit up, and a vestibule design that lets you cook or stash a pack without sopping the floor. Pay attention to door placement — a single-door ultralight may save grams, but make you unzip a sleeping bag in a muddy doorway. Measure your sleeping pad and roughly visualize how gear will live inside before you commit.
Weatherproofing: fabrics and seam tricks that work
Weatherproofing isn’t magic. A good fly and taped seams matter more than flashy fabric treatments. Focus on solid fly coverage, well-designed venting that prevents condensation from pooling, and reliable attachment points that hold tension when the wind kicks in. Learn to tension guy lines and set your tent on a slight angle so water runs off the fly; small setup details prevent most leaks.
Common mistakes people make
They assume lighter equals worse, or they prioritize peak cubic inches over usable vestibule space. Other frequent errors: trusting seam tape without checking it, ignoring vestibule drainage, and failing to test a quick emergency pitch at home. Carry a small tube of seam sealant and practice a one-person pitch so a solo night isn’t a frantic experiment.

Alternatives to weigh against each other
Single-wall tents cut weight and shed condensation well if vented, but they limit interior organization and sometimes don’t offer a real vestibule. Double-wall setups add weight but give predictable weather protection and easier drying. Freestanding tents save time and work well on rocky ground; non-freestanding shelters often weigh less and pack smaller but demand good stakes and ground choice. Evaluate these options against your typical routes and acceptable risk.
Wrap-up: how to balance everything for reliable shelter
Prioritize a shelter that lets you sleep dry and pack quickly. Trade a few grams for a usable vestibule and a reinforced fly attachment, test your setup in challenging conditions, and keep seam-sealing supplies handy. Practical choices like that are what separate a miserable storm night from a tolerable one, and why I trust tried-and-true kit from outfits who design with those tradeoffs in mind — like what you see at THECATAL.